Making ice cream in a ziplock bag is a fun, easy, and educational activity that you can quickly do at home with just a few ingredients and supplies. There are various different techniques that you could test to see which creates the “best” version of homemade ice cream.
With my local youth church group, we did an entire science experience just focused on the different types of salt that you use as part of the freezing materials. The girls absolutely loved it and have requested the activity again each summer, wanting to try new salts that they found throughout the year.
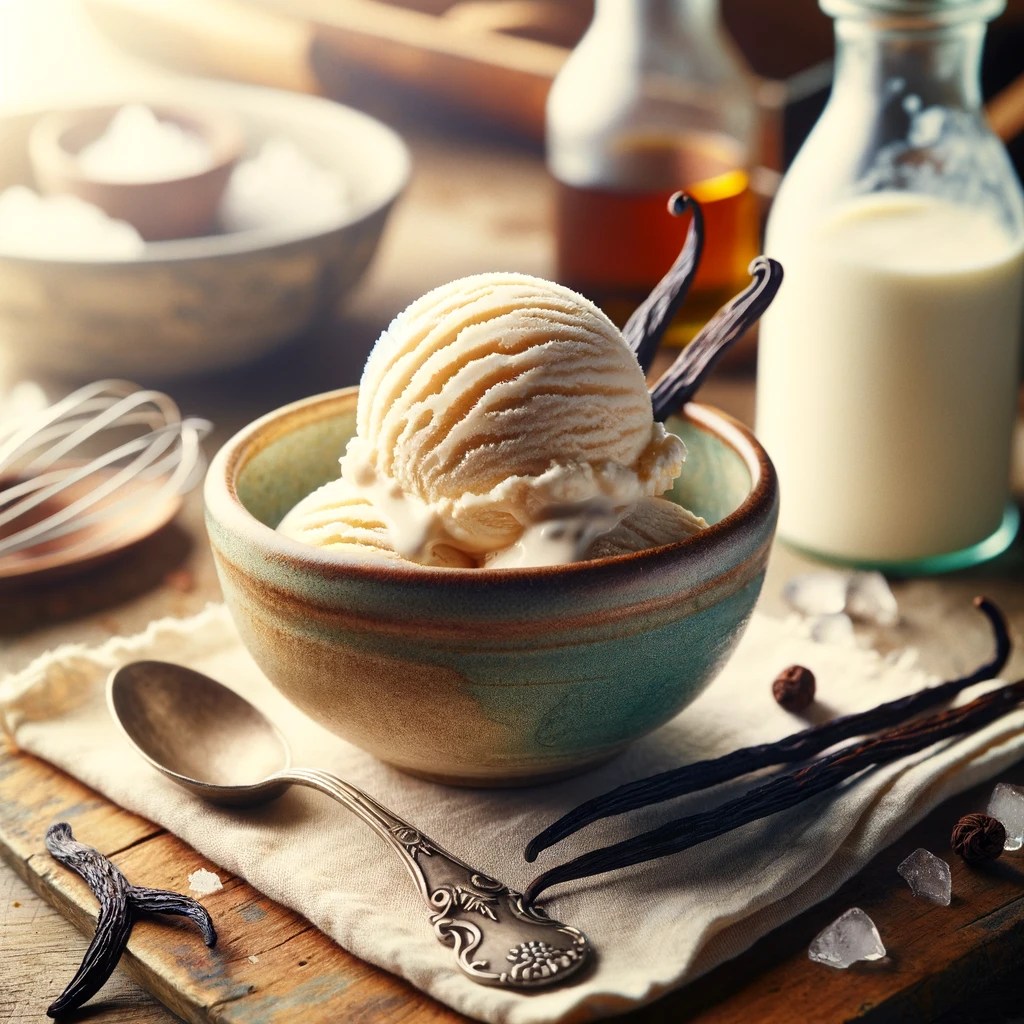
Homemade Ice Cream Recipe
There are various homemade ice cream recipes, but our basic favorite can be found from Barefeet in the Kitchen and is detailed below:
1¾ cups heavy cream
1¼ cup whole milk
¾ cup sugar
⅛ teaspoon fine sea salt
1 tablespoon vanilla extract
New Ways to Make Homemade Ice Cream
Homemade Ice Cream in a Bag
With this method, you will be using a pint-sized ziplock bag (or other off-brand bag). Combine the ingredients specified above and seal the bag tightly, ensuring there’s no air trapped inside. The less air inside, the quicker it will be to freeze. Mix the ingredients well by squishing or lightly shaking the bag. Once this is well mixed, you can set aside for a moment to prepare the freezing mixture.
In a gallon-sized ziplock bag, fill halfway with ice cubes, then add around 1/3 of a cup of Rock Salt (sometimes named “Ice Cream Salt” specifically) over the ice. The science of it all: salt lowers the freezing point of ice, causing it to melt and absorb heat from the surroundings (including your ice cream mix), which freezes the ice cream.
Place your pint-sized bag, within the larger gallon bag. Try to get that ice cream mixture bag right in the middle of your ice mixture if possible. At this point, you will need to shake, shake, shake that gallon bag. You can essentially shake until it hits your preferred consistency. As you remove the bag to eat, make sure to wipe the pint-sized bag down well, or else you will get a nice salty taste associated with your ice cream!
Homemade Ice Cream Ball
There was a day I was strolling around a local sporting goods shop and came across this Ice Cream Ball. Um… yes! When you can make Ice Cream by playing around with a ball, kids will go crazy for a fun activity.
The ball itself has a specific chamber to place in your homemade ice cream mixture, and a separate chamber for the ice and salt mixture. Once all are mixed together, you may enjoy playing with the ball by rolling, shaking, tossing and kicking around!
Homemade Ice Cream Machine
There are many various Ice Cream Machines that you can use to create your home made Ice Cream.
- Ninja Creami – Currently a wildly popular option for Homemade Ice Cream!
- Cuisinart Ice Cream Maker – This is the Ice Cream maker that we have had now for 5 years. Pros: easy, and quick. Cons: the barrel takes up a lot of freezer space if you consistently leave it in there.
- Nostalgia Ice Cream Maker – As named, this is definitely the nostalgic option of exactly what I remember as a kid. We would stick this kind of maker out on the back porch and let it churn!
Homemade Ice Cream in a Mason Jar + Freezer
Have you ever churned butter in a Mason Jar? Mainly what I remember from that experience was shaking vigorously for quite a while to thicken the mixture. Luckily with this ice cream technique, you really only need to shake for a few minutes to dissolve the sugar and mixture, and the rest of the work is done in the freezer!
Pour together your ice cream ingredients into your jar. Seal tightly to ensure that the mixture doesn’t leak out during shaking, and then proceed to vigorously shake the mason jar for about 4 to 5 minutes. The cream should double in volume and thicken to the consistency of whipped cream.
At this point, pop the jar in the freezer and let it sit for at least 3 hours, or until the mixture is frozen to your desired consistency. A softer texture may only take around 2 hours.
Homemade Ice Cream in Cans
This method involves shaking a smaller can filled with ice cream ingredients inside a larger can filled with ice and salt to freeze the mixture. Basically, you will be replicating the “Baggy” method, just with different packaging.
First, find a small can (about 1 quart or liter size). This could be a small coffee can, a hot coco type can, or some small can that has a lid or way to semi-seal the top. Technically even a smaller Tupperware that is not too thick. Once the smaller can is acquired, you will need to get your large can (about 3 quarts or liters size). Again, could be a large coffee can, but typically I use a No. 10 can like from my freeze-dried strawberries.
At this point, you will mix the ice cream mixture in the small can and seal. Sealing additionally with duct tape is suggested, or even putting your small can in a bag in case. You don’t want salt in the ice cream! In the large can, mix together your ice and salt. Place the small can in the larger can, and shake, roll, or toss the large can back and forth for about 15-30 minutes. The time may vary depending on the temperature and how vigorously you shake the can.
Create your Own Homemade Ice Cream Experiments
With any of these methods, once your ice cream is complete, you can add all varieties of toppings to the mixture. Candy, fruit, chocolate chips, sprinkles and more. Not only have you created a great treat but also a great way to teach kids about some different scientific experiments in a fun and tasty way!

2 thoughts on “5 Ways to Make Homemade Ice Cream”